
Fotona 4D: The Four Steps Explained
Fotona 4D combines two laser wavelengths in four steps, each at a different depth of the skin. This guide explains what each step treats and how a course of sessions runs.
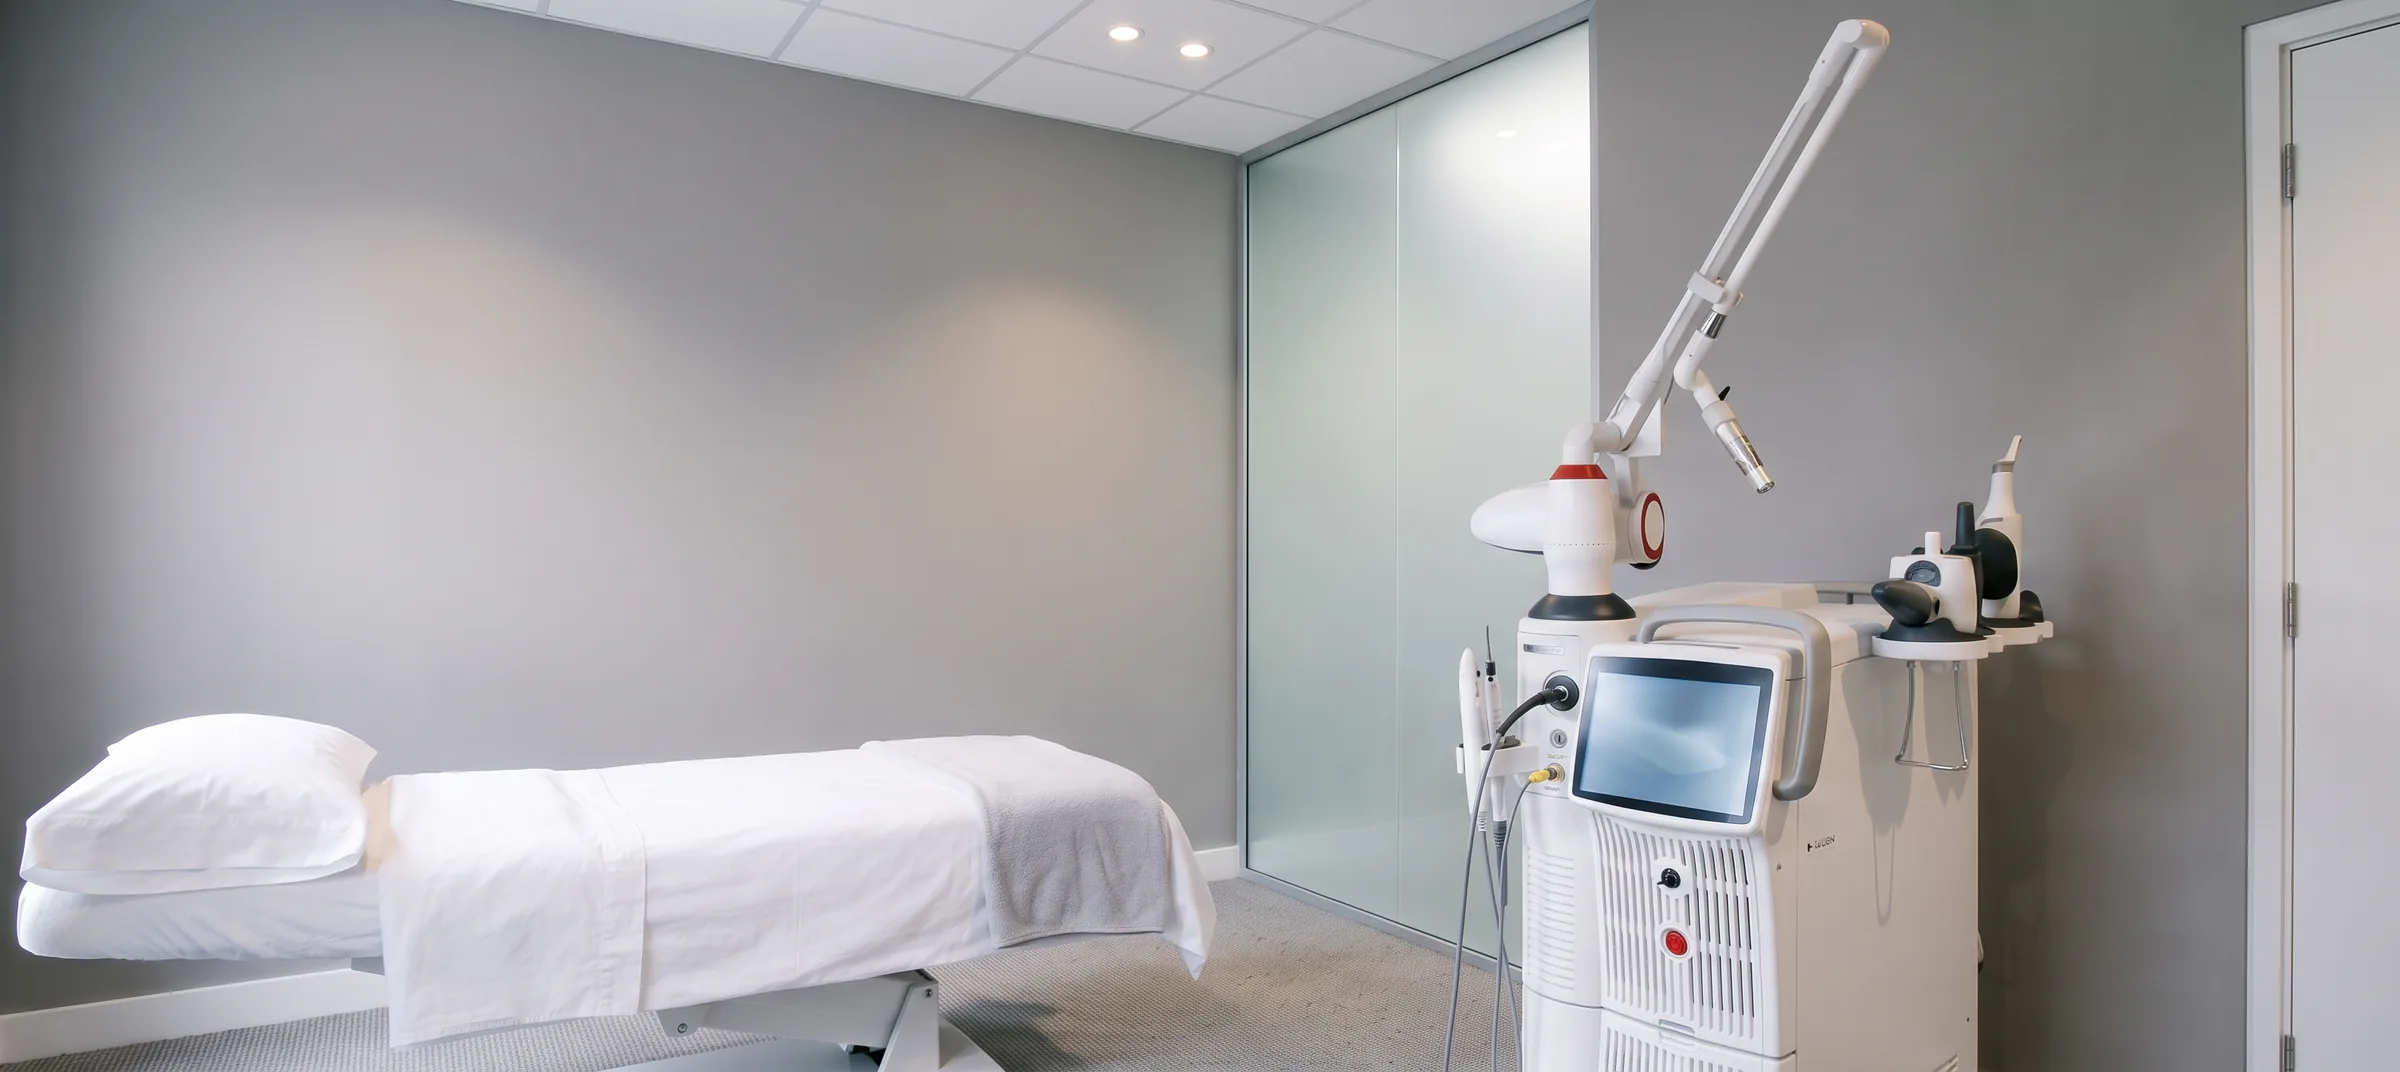
Fotona 4D is a laser treatment for skin tightening and texture, built from four steps in one session. Each step uses a different laser mode at a different depth of the skin and tissue, starting inside the mouth and finishing at the skin surface.
Fotona 4D at a glance
Fotona 4D uses two wavelengths. Er:YAG is strongly absorbed by water and works at the skin surface and within oral tissue. Nd:YAG penetrates more deeply and heats tissue below the surface without ablating it. The four steps alternate between the two wavelengths, which is where the "4D" name comes from.
Step 1, SmoothLiftin inside the mouth
The first step delivers Er:YAG energy to the tissue just inside the mouth, around the inner cheeks and lips.
Several signs of ageing concentrate in the lower half of the face: sagging around the mouth, deepening nasolabial folds, loss of volume in the mid and lower face and early jowls. Treating from the oral side reaches tissue beneath these areas.
The step takes a few minutes and involves no needles. It feels warm. Intraoral Er:YAG treatment has been studied on its own. A published trial treated 20 patients intraorally with the same wavelength, in six sessions two weeks apart, and reported a significant improvement in nasolabial fold wrinkles six months after the final session.
Step 2, FRAC3 for deeper imperfections
The second step uses the Nd:YAG wavelength in a non-ablative fractional mode. Fractional means the energy lands in a pattern of small treated points with untreated skin between them, which shortens recovery compared with treating the whole surface.
FRAC3 targets deeper imperfections such as fine lines, sun damage and uneven pigment, and stimulates collagen in the dermis. The mode is non-ablative, so the skin surface stays intact. Changes in tone and texture are assessed across a course of sessions.
Step 3, PIANO heating for tightening
The third step uses the Nd:YAG wavelength again, as continuous non-ablative heating applied over the whole treatment area with a brushing technique. It heats the full volume of tissue under the handpiece.
The aim is controlled heating of the deeper dermis, the layer where collagen remodelling happens, with the surface protected. This is the step most associated with tightening, and it is why Fotona 4D is grouped with skin tightening and lifting as well as skin quality. PIANO feels like sustained warmth over the face.
Step 4, the SupErficial peel
The final step uses Er:YAG at low power to give the skin surface a very light peel. It targets surface concerns such as texture, enlarged pores, shallow scarring and dullness.
The peel is gentle. It finishes the session after the deeper work of the first three steps.
How the four steps fit together
One wavelength at one depth treats the concerns at that depth. Facial ageing involves several layers at once: laxity at depth, pigment and texture at the surface, volume changes around the mouth and a slowdown in collagen production. Fotona 4D works through those depths in one appointment, with a step for each.
Our article on how ultrasound, radiofrequency and laser differ covers the energy types at a category level. Within laser, Fotona 4D combines two wavelengths that each do a different job.
What a session involves
A basic Fotona 4D session takes about 30 to 45 minutes and involves no incisions. Added protocols extend the appointment to around 1.5 hours. Warmth and mild redness can last a few hours, and the peel step can leave the skin feeling tight or dry for a few days.
A course is 3 to 5 sessions, about a month apart. One published Fotona 4D study used four full-face sessions at monthly intervals, and it recorded only short-lived redness and swelling as side effects. Collagen remodelling is gradual, so changes build across sessions and in the weeks after each one. The result of a course is assessed after the final session.
For what happens on the day, see the Fotona treatment overview.
Add-on Fotona protocols
The Fotona platform has focused protocols that use the same two wavelengths for specific areas. They can be added to a 4D session:
- SmoothEye treats the skin around the eyes.
- Liplase is a laser protocol for lip definition.
- VectorLift targets lifting along the brow and cheek structures.
- NightLase is a protocol for sleep-related concerns.
The right combination comes down to the concern, the treatment area, skin type and the downtime you can allow.
Common questions
Does Fotona 4D hurt?
SmoothLiftin and PIANO feel warm. FRAC3 is a brief pricking feeling. SupErficial feels like a light peel.
How many sessions will I need?
A course is 3 to 5 sessions, about a month apart. The number is set by the concern being treated and how your skin responds, and it is reviewed as the course goes on.
Is there downtime?
Expect warmth and mild redness for a few hours, and dryness or flaking for a few days after the peel step.
When will I see results?
Skin can feel smoother soon after a session. Tightening and collagen changes build over weeks to months as the skin remodels, so results are assessed across the course.
How is Fotona 4D different from other laser treatments?
Fotona 4D alternates two wavelengths across four steps, combining surface, fractional and deep heating work in a single session.
Who is Fotona 4D suitable for?
It is considered for early to moderate laxity, uneven tone and skin texture. Suitability comes down to skin type, history and goals, and is assessed at a consultation.
This guide gives general information about Fotona 4D. Individual medical advice and suitability come from your consultation.